


Installing Automatic Wall Mount Soap Dispenser: 7 Steps
Installing an automatic wall-mount soap dispenser is straightforward if you follow the right steps, including marking the holes, drilling them, and positioning them sturdily.
If you’re going DIY on installing your soap dispenser at home, you need to have the right tools as well.
This guide walks you through how to install an automatic soap dispenser securely while ensuring long-lasting performance. So, read on to learn more.
Things to Consider Before Installation
Choose the Right Location
Before mounting your wall-mount soap dispenser, select an ideal location.
It should be near the sink, easily accessible, and away from excessive water splashes that could damage the sensor.
For public restrooms, consider placing multiple dispensers in high-traffic areas for convenience.
Check the Wall Type
The surface where you mount the dispenser matters.
Drywall, tiles, and concrete require different mounting techniques. If installing tiles, use a tile drill bit to prevent cracks.
For drywall, anchors are essential for firm support, while concrete walls may need heavy-duty expansion bolts.

Discover the Difference – Explore Our Soap Dispenser Now!
Power Source
Your automatic soap dispenser installation depends on whether it’s battery-operated or electric-powered.
Battery-powered dispensers are more flexible, while electric models require access to a nearby outlet.
If using a wired dispenser, ensure you have proper cable management to avoid hazards.
Soap Compatibility
Not all automatic soap dispensers work with every type of soap. Some are designed for foaming soap, while others are made for liquid soap.
Using an incompatible soap can lead to clogging or malfunctioning of the dispenser.
Check the manufacturer’s recommendations before filling the tank.
Tools & Materials You’ll Need
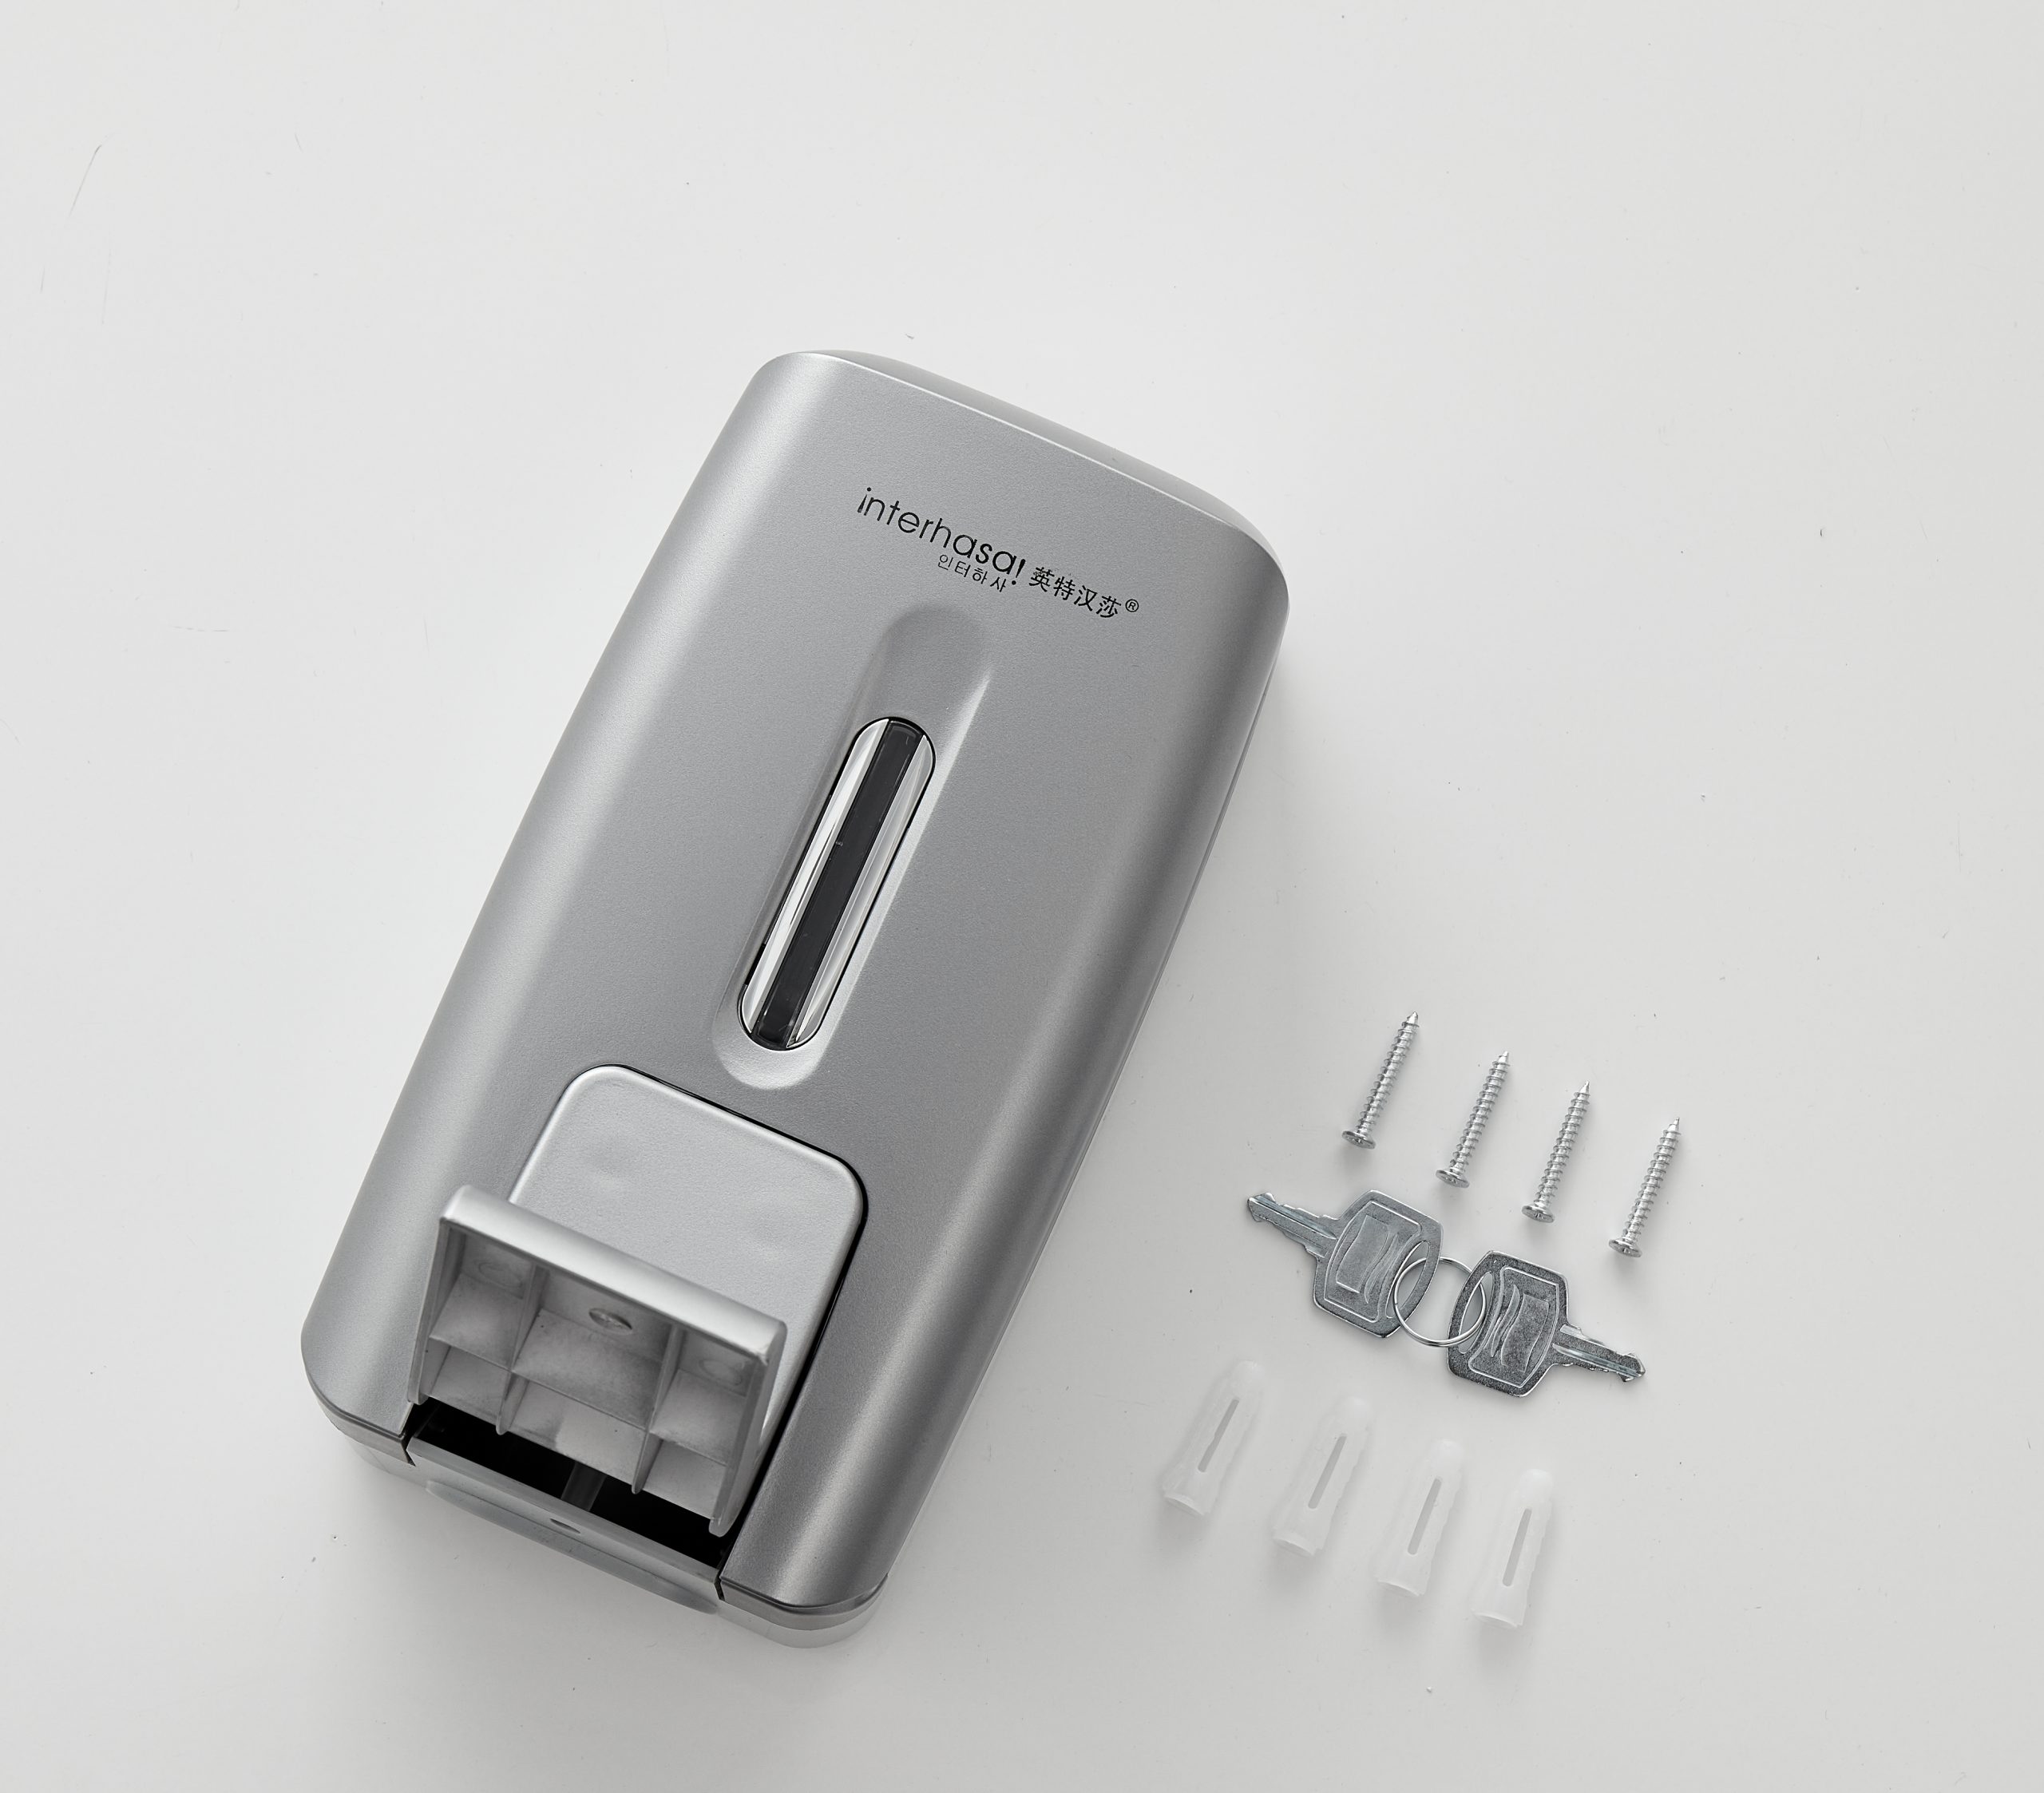
To install your wall-mount soap dispenser, gather the following tools:
- Drill (with the correct drill bit size for your wall type)
- Wall anchors (for drywall or tile installations)
- Screws (included with most dispensers)
- Screwdriver
- Level (to ensure proper alignment)
- Measuring tape
- Pencil (for marking drill points)
Step-by-Step Automatic Soap Dispenser Installation
Step 1: Mark the Mounting Position
Hold the wall-mount soap dispenser at the desired height. A good rule of thumb is 40-48 inches from the floor, ensuring easy reach for all users.
For commercial settings, follow ADA (Americans with Disabilities Act) guidelines for accessibility.
Use a level and pencil to mark the drill holes where the dispenser will be mounted.
Step 2: Drill the Holes and Insert Anchors
Using the appropriate drill bit, create holes at the marked points. If mounting on tiles or drywall, insert wall anchors to provide better support.
For concrete surfaces, use expansion anchors to keep the dispenser securely fastened.
Ensure that the drilled holes align with the mounting bracket to avoid installation issues.
Step 3: Attach the Wall Bracket
Align the dispenser’s mounting bracket with the drilled holes. Secure it using screws and a screwdriver, ensuring it is tight and level.
A misaligned bracket may affect the sensor’s function or cause improper soap dispensing.
Check for any loose fittings before proceeding to the next step.
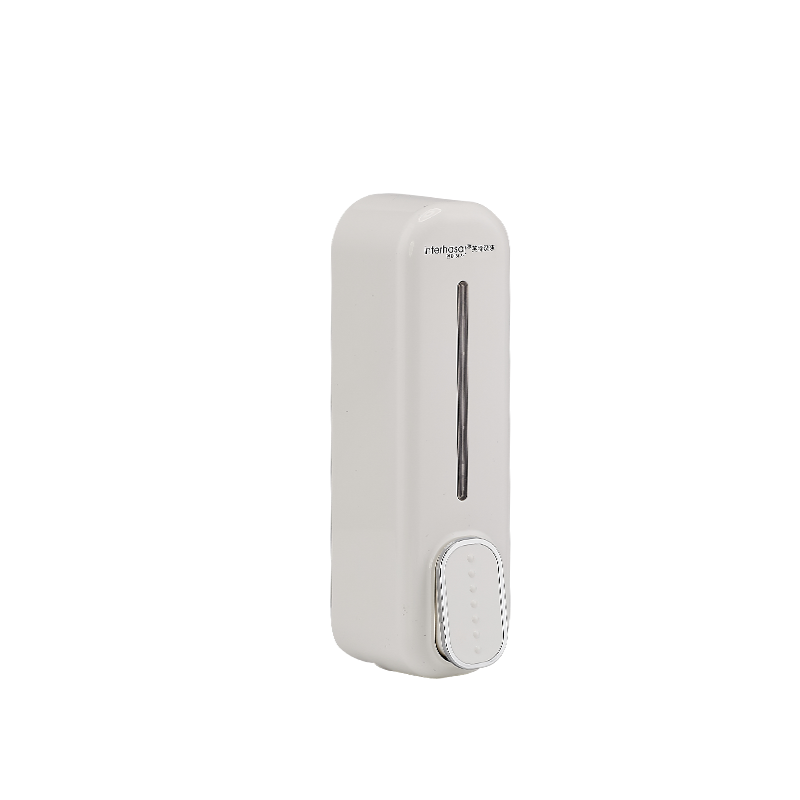
Step 4: Secure the Soap Dispenser to the Bracket
Once the wall bracket is securely in place, attach the automatic soap dispenser by snapping or sliding it onto the mount.
Some models require additional screws to hold the dispenser in place.
Ensure it fits snugly to prevent wobbling or accidental detachment.
Step 5: Insert Batteries or Connect the Power Supply
For battery-operated dispensers, open the battery compartment and insert the required AA or AAA batteries.
Ensure they are properly aligned based on the positive and negative terminals.
If your dispenser is electric-powered, plug it into the nearest power source while ensuring the cable is neatly secured and does not pose a tripping hazard.
Step 6: Fill the Soap Reservoir
Carefully pour the recommended liquid or foaming soap into the reservoir.
Avoid using thick or gel-based soaps, as they may clog the soap pump.
If the dispenser has adjustable soap volume settings, set it to an appropriate level to prevent waste.
Step 7: Test the Dispenser and Adjust the Settings
Wave your hand under the automatic soap dispenser sensor to test its functionality. If no soap is dispensed, check whether:
- The batteries are correctly inserted or charged.
- The sensor is clean and free from dirt or soap residue.
- The soap tank is properly sealed to prevent air from blocking the pump.
Adjust dispensing settings if needed to control the soap output.
Common Installation Issues & How to Fix Them
Even with proper installation, some wall-mount soap dispensers may encounter issues. Here are common problems and how to fix them:
- The dispenser is not turning on – Check battery installation, replace old batteries, or verify power connections.
- The sensor is unresponsive – Clean the sensor lens with a soft cloth to remove dust or soap buildup.
- Soap is leaking from the dispenser – Ensure the soap tank is properly secured and not overfilled.
Maintenance Tips to Extend Dispenser Life
To keep your automatic soap dispenser in optimal condition, follow these maintenance tips:
- Clean the nozzle regularly – Wipe away any dried soap residue to prevent clogging.
- Use compatible soap – Stick to the manufacturer’s recommended soap type for the best performance.
- Check batteries every few months – Weak batteries can affect the sensor’s efficiency and cause inconsistent soap dispensing.
- Refill soap correctly – Avoid overfilling to prevent leaks and system malfunctions.
Installing Automatic Wall-Mount Soap Dispenser: Conclusion
Installing an automatic wall-mount soap dispenser is a simple yet effective way to improve hygiene in restrooms and kitchens.
By choosing the right location, using the proper tools, and following the 7-step installation guide, you can ensure a secure and long-lasting setup.
Regular maintenance prevents common issues, keeping your dispenser functional and efficient.
Whether for home use or commercial bathrooms, a wall-mount soap dispenser is a smart investment for a cleaner and more convenient handwashing experience.